Sooooo, I was in charge of this months twistback challenge over at Sketch-N-Scrap and I may have gotten a little over ambitious. I challenge you to create a layout using this old SNS sketch from Sept. 2013:
The twist? You can only use WHITE Paper/Cardstock.
Yikes I know! It's something I've always wanted to try, so I challenge you to try it with me. Color your white paper however you wish. Make your own embellishments! Doodle your title!
I'll show you how I did mine here.
Step ONE: Lay your photos out on your main sheet.
Step TWO: Cut out all of your elements. (Hard to see in the photo I know... They're all white) I stuck very close to the sketch right now. I may trim or change the pieces once they are colored.
I used my Fiskar Circle Die to cut out some embellishments.
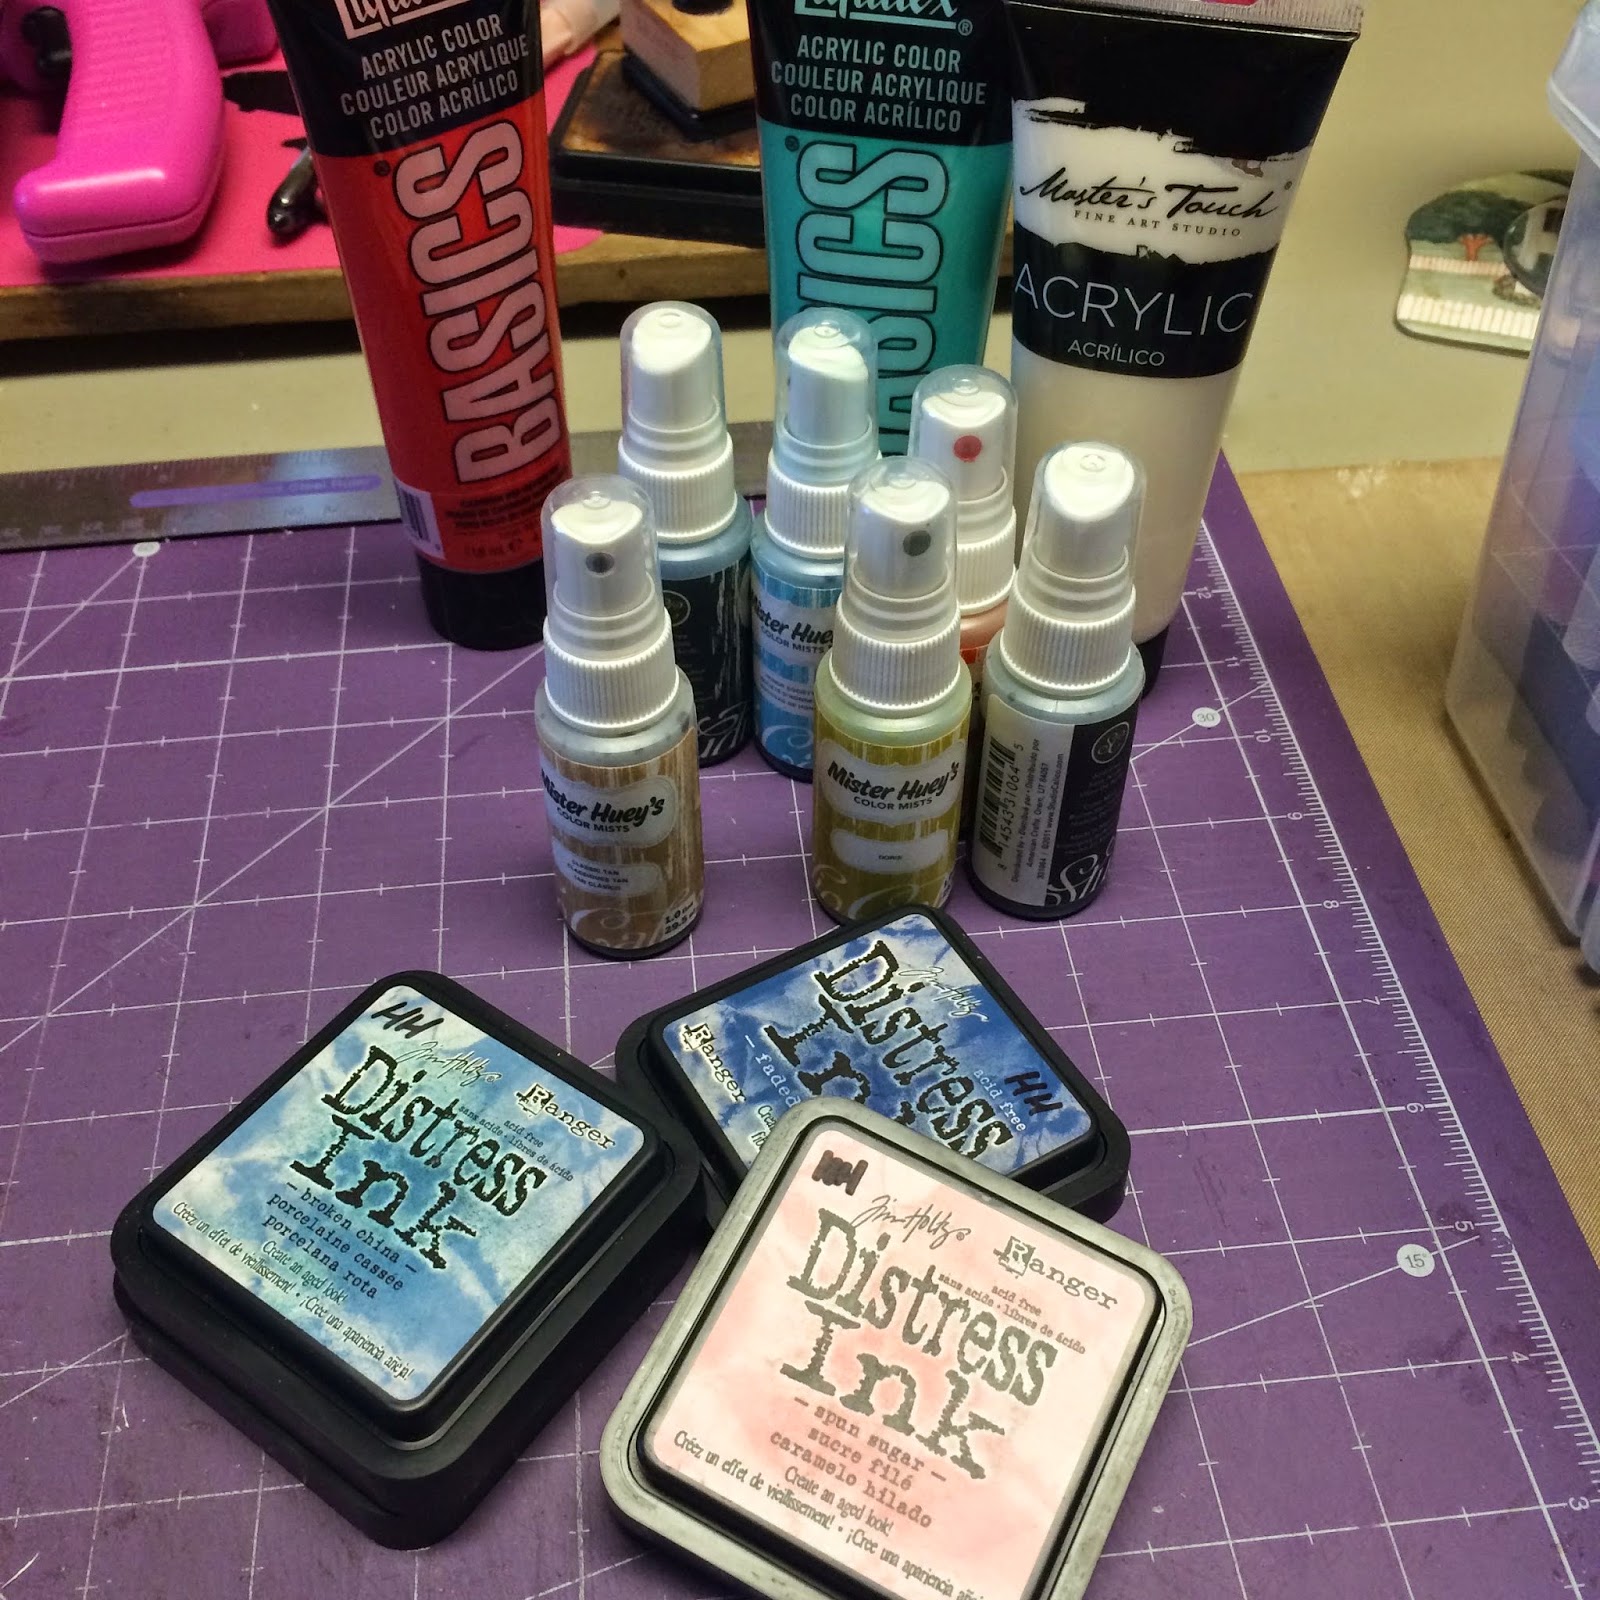
Step THREE: Get out your tools for coloring the paper. FYI I did not use all of these items.
Dyes and Glitter:
Markers:
Paint, Sprays and Ink Pads:
(Oh crap I just made myself slightly cross eyed... Too many options!!!) I haven't even gotten to colored pencils, crayons, waxes. And not to mention the off the wall ways to stain paper like tea, coffee, vanilla... Now I'm thirsty.
Okay! Next, mix some or all of the items above with stencils and stamps:
Okay, so call me crazy, but I ended up doing 3 layouts. Once I started creating the elements, some worked with my layout, some didn't. The didn't got put to the side and I used them in a different layout. For my first one, I worked with watercolors and stamping for the most part. The background was splattered with watercolor and the smaller embellishments were painted. The title piece was something I hand wrote and colored.
I stamped this piece creating a pattern with the cloud and sun stamp. I first painted them Pearlescent watercolors and wasn't quite happy with the color, so I went over it with my Faber-Castell Pitt pens.
My next layout:
I used a 12x12 template I picked up on clearance (bonus!). I wanted to create a resist, so I smeared Golden Soft Gel medium over the stencil with a pallet knife. After it dried, I used a red water based spray that I made to color the paper. The title was cut out using my cricut and colored by pressing it into an ink pad.
Another fun element that I made for this page, I used an orange gelato to create the strips. Cutting out a half inch strip of paper, I taped the strip to the stencil using drafting tape to hold it in place. Once secured I could use my finger to rub the color onto the paper, getting a good transfer. When done, the drafting tape pulls off of the paper easily.
And my last layout:

Using my polka dot template again, this time I colored my paper with distress inks and daubers. This gave the background sheet a soft look. The title piece was cut out with my cricut and colored with the ink as well. I used a couple other techniques I learned In Tim Holtz's book A Compendium of Curiosities #1 to create the other elements on this page.
I hope that I have given you some ideas and inspired you to create a layout using white cardstock and your imagination.