Monday, March 30, 2015

Playing with Clay Step by Step

I wanted to share with you the process of working with clay. For me anyway. I had a show this last weekend and I made a couple batches of bunnies to offer.  I took photos along the way of one batch.

The first step is putting together the styro foam insides. I used different sizes of egg shapes for my bunnies. Using a short piece of wooden dowel, I hot glue the head to the body. The dowel helps support it. I indented eye areas in the heads.
Next I cover the foam with creative paperclay. My first coat is a thin one just to get the whole piece covered. You can see in the photo I still need to cover the bottom. I let them dry in the sun before finishing the lower areas on them.
After the first coat of clay is dry I add more to the necks to form them how I want and make their noses. I have no patterns for these every one will look different.
I'll note that each of these steps is at least a day apart to give it time to dry. I am an impatient crafter so clay really pushes me. I try to keep myself busy making other things in between steps so I don't rush the clay! 

Here are all of the bunnies with their first ear. I didn't use anything inside the ears, they are solid clay so they took two days to dry. Each bunny has their ears posed differently.
Now they have both ears and are left to dry for another couple days.
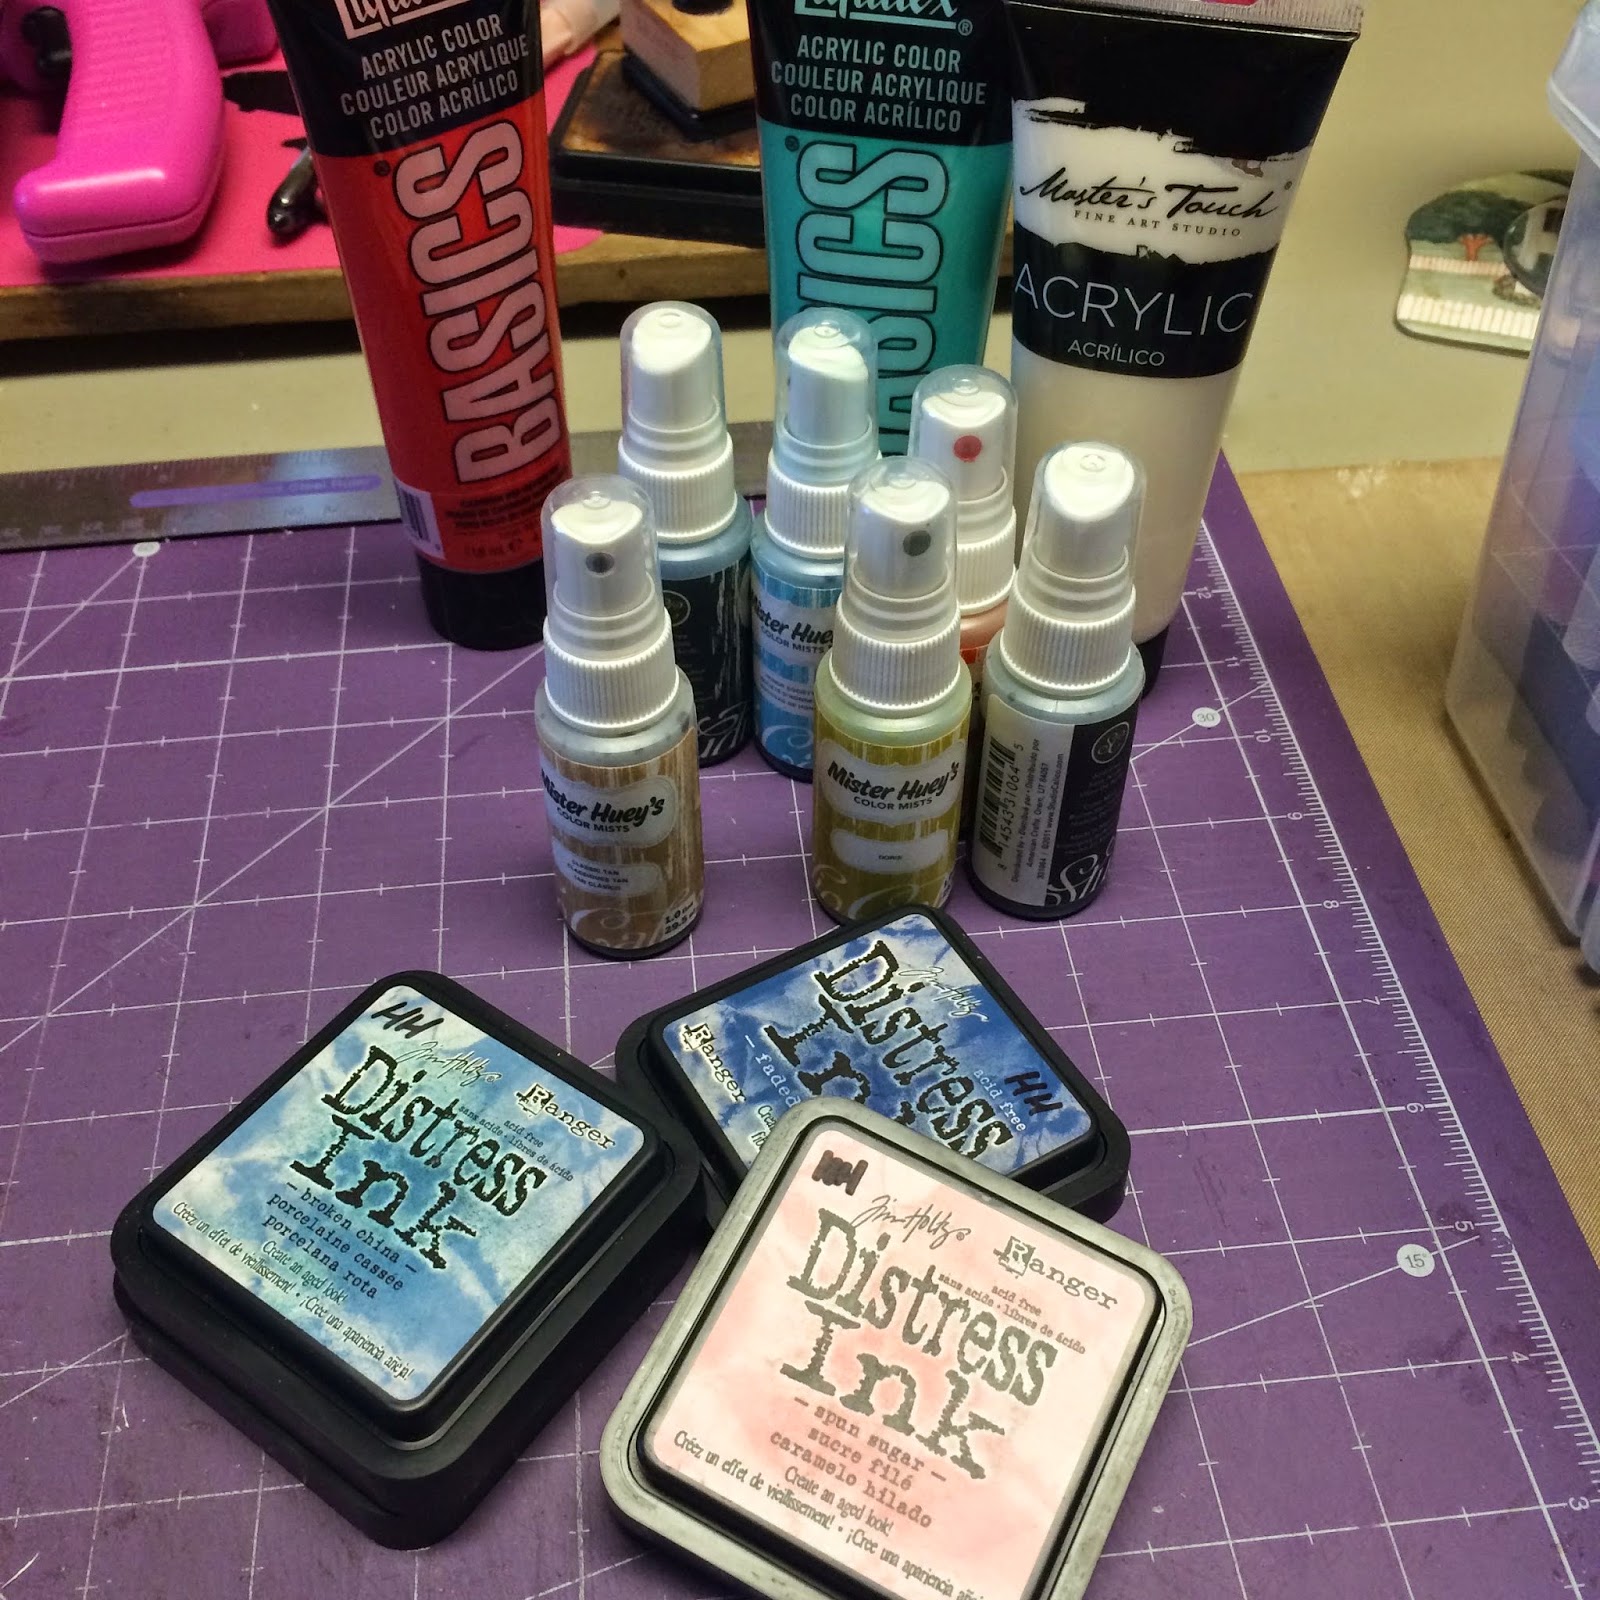
Once the bunnies are completely dry I coat them with gesso. Then a thick coat of Ranger Distress Crackle Paint in Clear Rock Candy.
You need a thick coat on to get an aggressive crackle. Once I've painted the crackle on they are left to dry. Don't rush the crackle with a heat tool, just let time work it.
Once the crackle is dry, I water down some brown paint and brush it on. Then using a paper towel I rub the majority off.
Look at that beautiful aged crackle!
By this time I had less than an hour before I had to leave and set up my show so I didn't get photos of the painting of the nose and eyes. I was scrambling to finish and get them packed. (sorry!) I embellished each one with dyed ribbon and they were nestled into peat pots or tins. I did come home with a couple of these. I have them listed on eBay now, you can click on the photo below to go to my auctions.
http://www.ebay.com/sch/oldesaltbox/m.html?_nkw=&_armrs=1&_ipg=&_from=
I hope you enjoyed my step by step process of working with clay!

Wednesday, March 25, 2015

Friday, March 20, 2015

New Clay Pieces

Lots of photos of some the new clay pieces that will be available at the Handmade'ns show the 28th!


Hope to see you at the show. UNK Alumni House March 28th at 10am!

Sketch N Scrap Card Challenge #46

Today I have a great card sketch for you all to play with from Sketch-N-Scrap.
I was able to dig through my scrap stash and find a stack of beautiful papers all in the blue shades for this card. I believe they are mostly Authentique with a touch of My Minds Eye. I used my Tim Holtz tattered florals die to create the flower and further embellished the card with random buttons.

Wednesday, March 18, 2015

Work Tray Wednesday

For the love of clay... New creatures coming soon!

Sunday, March 15, 2015

Sketch N Scrap Layout Challenge #77

Back today for your mid March layout challenge from Sketch N Scrap.
This was a fun one and I stayed pretty true to the sketch when doing it. We've recently added a couple pairs of glasses to the household and I for one think these little boys are extremely handsome when sporting them.
Items I used in this layout:
October Afternoon • Sidewalks • Marbles
October Afternoon • Sidewalks • Duck Duck Goose
October Afternoon • Fly a Kite • Sprinkles
October Afternoon • 5 & Dime • Chip N Stick
October Afternoon • 5 & Dime • Word Stickers
Jillibean Soup • Christmas Eve Chowder • Frozen Haddock
Adobe Illustrator
Cricut Expression
Ranger • Glossy Accents

Thursday, March 12, 2015

Sketch N Scrap Twistback Challenge

Sooooo, I was in charge of this months twistback challenge over at Sketch-N-Scrap and I may have gotten a little over ambitious. I challenge you to create a layout using this old SNS sketch from Sept. 2013:
The twist? You can only use WHITE Paper/Cardstock. 
Yikes I know! It's something I've always wanted to try, so I challenge you to try it with me. Color your white paper however you wish. Make your own embellishments! Doodle your title!
I'll show you how I did mine here.
Step ONE: Lay your photos out on your main sheet.
Step TWO: Cut out all of your elements. (Hard to see in the photo I know... They're all white) I stuck very close to the sketch right now. I may trim or change the pieces once they are colored.
I used my Fiskar Circle Die to cut out some embellishments.
Step THREE: Get out your tools for coloring the paper. FYI I did not use all of these items.
Dyes and Glitter:
Spritzer Sprays:
Watercolor:
Markers:
Paint, Sprays and Ink Pads:
Gelatos: 
(Oh crap I just made myself slightly cross eyed... Too many options!!!) I haven't even gotten to colored pencils, crayons, waxes. And not to mention the off the wall ways to stain paper like tea, coffee, vanilla... Now I'm thirsty.

Okay! Next, mix some or all of the items above with stencils and stamps:
 Okay, so call me crazy, but I ended up doing 3 layouts. Once I started creating the elements, some worked with my layout, some didn't. The didn't got put to the side and I used them in a different layout. For my first one, I worked with watercolors and stamping for the most part. The background was splattered with watercolor and the smaller embellishments were painted. The title piece was something I hand wrote and colored.
 I stamped this piece creating a pattern with the cloud and sun stamp. I first painted them Pearlescent watercolors and wasn't quite happy with the color, so I went over it with my Faber-Castell Pitt pens.
 My next layout:
 I used a 12x12 template I picked up on clearance (bonus!). I wanted to create a resist, so I smeared Golden Soft Gel medium over the stencil with a pallet knife. After it dried, I used a red water based spray that I made to color the paper. The title was cut out using my cricut and colored by pressing it into an ink pad.
Another fun element that I made for this page, I used an orange gelato to create the strips. Cutting out a half inch strip of paper, I taped the strip to the stencil using drafting tape to hold it in place. Once secured I could use my finger to rub the color onto the paper, getting a good transfer. When done, the drafting tape pulls off of the paper easily.
 And my last layout:

Using my polka dot template again, this time I colored my paper with distress inks and daubers. This gave the background sheet a soft look. The title piece was cut out with my cricut and colored with the ink as well. I used a couple other techniques I learned In Tim Holtz's book A Compendium of Curiosities #1 to create the other elements on this page.
 I hope that I have given you some ideas and inspired you to create a layout using white cardstock and your imagination.


Wednesday, March 11, 2015

Work Tray Wednesday

All sorts of fun things in the works!

Thursday, March 5, 2015

Sketch N Scrap Card Challenge #45

I'm back with another fun card sketch for you today. Post yours to the Sketch N Scrap blog for a chance to win March's prize.
 This card went together easily for me. The pretty papers from October Afternoon certainly helped. I can't wait to see what you make with this sketch.